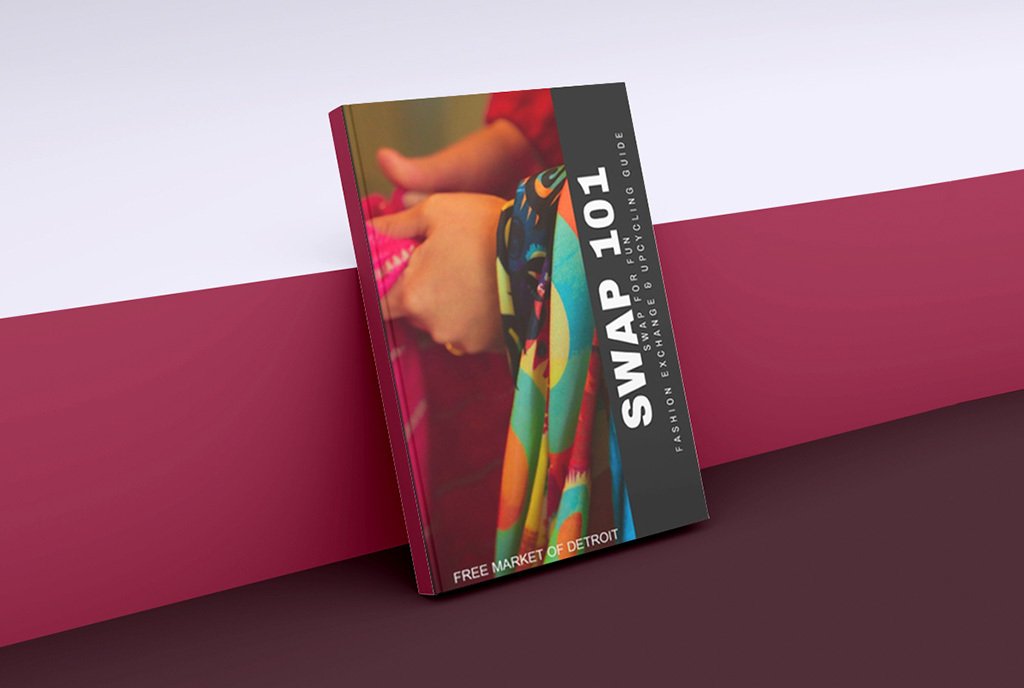
How do we build infrastructure for a people-driven, democratic economy? The work may sound complicated, but it starts with accessible small steps that build community relationships at the local level. An example of this is the Free Market of Detroit, a do-it-yourself community market where not only goods are exchanged, but stories, ideas, and laughter. The following text describes some of this work and is excerpted with permission from Swap 101: Swap for Fun: A Guide for Fashion Exchange and Upcycling, authored and published by the Free Market of Detroit (2024).
My children are pretty far apart in age. And when my second daughter turned 2, we had exhausted all of the clothes from the baby shower and really did not have many left from her older sister who was then 10. And children’s clothes are super expensive! We also enjoy spending lots of time getting dirty; gardening, cooking, making arts and crafts, and I really needed clothes that I didn’t feel bad about living life like that in. So one summer day I decided to host a backyard barbecue and invite cousins and friends with children of different ages to bring any clothes, shoes, or toddler gear that they were no longer using and I would be happy to take any donations.
Once something is no longer useful, people are really happy to pass it on. If we can have this mindset instead of “just throw it away”…then we can do a lot.
The next weekend I set up the grill, some games, chairs, and a long table away from the food for the items that I imagined people could use to set things on. About 10 folks came over and we had a great time. By the end of the afternoon the table was completely covered, over 20 bags of kids’ clothes, shoes, toys and larger items like car seats, and strollers buried the table. And at the beginning I told folks to look through and take whatever items they might like for themselves. And people did, and they were super happy to have a new free find! This was the end result. Probably thousands of dollars’ worth of goods that my friends and family were super happy to have out of their houses and being passed along knowing they would be put to good use.
Sign up for our free newsletters
Subscribe to NPQ's newsletters to have our top stories delivered directly to your inbox.
By signing up, you agree to our privacy policy and terms of use, and to receive messages from NPQ and our partners.
It made me think of how easily we can be a blessing to each other. And also how a lot of the time we place value on things that we need or are functional for us. Once something is no longer useful, people are really happy to pass it on. If we can have this mindset instead of “just throw it away” for our functional items, then we can do a lot to save our friends and family a lot of money and time.
Over time friends encouraged me to make the swaps bigger, make it resemble a store, have different themes, have photo booths and fashion shows, include live DJs and artist workshops, and travel to set up in lots of different spaces. All of it has been great!
The steps below are pretty essential to hosting a great swap no matter how big or cozy you are planning for your swap to be.
Eleven Steps to Creating a Successful Swap
- Plan and organize: What is your reason or purpose for wanting to organize and host a swap? Will it be a small gathering for friends and family, or a larger public event, or perhaps a table set-up in conjunction with another event? What types of items do you hope to have or absolutely NOT want (Tip: Be specific about what the space is accepting, people will bring anything literally without clear directions).
- Set guidelines: Establish clear guidelines for your swap. What type and condition of clothing will be accepted? (Tip: You may say things like “unstained and washed clothing in good condition,” or “any small appliance must be functional”) and size limitations (Tip: You may want to suggest one bag or no items larger than 2 cubic feet), or any specific themes of items that will be accepted.)
- Select the space: Find a space that works for you. It may me your home, yard, school, church/house of worship, or other location that you may like. Depending on your location, decide if you want to use folding tables and chairs, clothing racks, shelves, clotheslines, crates, a chain-link fence, or any other means to display clothing and other items. Ensure you have enough space for people to move around tables and racks and provide mirrors for participants to try things on. Arrange racks, tables, or designated areas for different categories of clothing and other items. (Tip: You can use size, season, colors, materials, function, or any other categories you would like to use.)
- Select date and time: Depending on your location, find a date and time that works for you all. Build in at least a two-hour window for set-up, and time for breakdown and clean up. (Tip: Usually a 4-hour block is a good amount of time for the actual swap to allow people to stroll in, try on things, mingle, etc. Please build in extra time for set-up and clean up.)
- Invite participants: Once you have your location and date set, reach out to friends, family, and any community members who you think might be interested in participating. And especially reach out to friends with great style. You can use social media, email, fliers, or word of mouth to spread the word. A flier whether physical or digital or both is helpful to help people remember the date and stick to the guidelines you are setting.
- Sort and categorize: Prior to the swap, identify the items that you want to let go of and sort them into labeled bins. Ask participants to wash, pre-sort and categorize their clothing items based on size, style, or any other relevant criteria, and to label their bag or box. Also to test any appliances or electronics for functionality. This will make it easier to set up the swap. You can also ask people to bring clothing on hangers, which will make it super easy if you are using racks. (Tip: You may want to also bring a bag of empty hangers with you.)Create a welcoming and inclusive environment where participants feel comfortable interacting and exchanging items and stories.
- Display the clothing and items: On the day of the swap, arrive 2 hours early, if possible so that you can arrange the clothing and other items in a way that is organized and visually appealing. (Tip: You may consider making signs with poster boards for different sections or sizes so that it’s easy for participants to add their items, browse and select what they like.)
- Create your ideal swapping system: You may use a token or ticket system. Or you may make the price of admission at least one item, and then let people shop for free for as much as they want. If it is a more intimate setting, or you are doing a swap where each person is bringing just one item, like an art swap, then you may decide that a 1-1 system is most fair, and that the exchange happens at a more precise time, like after a meal. (Tip: Allowing people to take as much as they want, or timing this announcement to be made during the last half hour, can lead to a much lighter load when it’s over.)
- Encourage trying on, altering, and upcycling: Provide a space for participants to try on the clothing and be able to use a mirror. This will help ensure a better fit and increase satisfaction with the swapped items. Also have a space with some sewing materials or fashion art supplies where people could sit and alter, or upgrade their swap finds to fit them even more perfectly. (Tip: Take and share photos!)
- Foster a friendly atmosphere: Create a welcoming and inclusive environment where participants feel comfortable interacting and exchanging items and stories. Provide some seating. You may consider playing music, hosting a workshop, providing light refreshments, having clothes of all sizes, using non-gender conforming labels, including children’s items and having a kid’s corner, or any other things that you can think of to enhance the experience for the group of people you are inviting. (Tip: You may also want to have a “NO-SWAPPING ZONE” for people’s coats, and bags of items that they have already selected, while they move around).
- Donate or recycle remaining items: After the swap ends, ask participants to help bag up remaining items and ask them what they would like to do with any remaining clothing items. (Tip #1: It’s good to have an on-going list of local charities, churches, and other hyper local places that accept donations as well as places for recycling.)
(Tip #2: Ask folks to help drop off the remaining items to different locations.)


